How to Use Image SEO and Alt Text Optimization to Get More Blog Traffic
Image SEO and alt text optimization might sound like one of those tech things you can skip.
I thought the same thing for my first year of blogging.
I uploaded pretty pictures, hit publish and called it done.
Wanna know how much traffic I got from Google Images during that time? Zero. Literally zero.
Then I spent one afternoon going back through my posts and adding proper alt text to every single image. Within three weeks, I started seeing traffic from image search.
Not huge numbers. But people were finding my blog through images I’d uploaded months earlier.
That’s when I realized I’d been leaving traffic on the table because I didn’t understand how search engines actually see images.
Spoiler alert: they can’t see them at all without your help.
Why Does Image SEO Actually Matter for Your Blog?
Here’s what nobody tells you when you start blogging.
Google Images is basically a search engine all by itself. People search for recipe photos, DIY project ideas, travel inspiration. When your images show up in those results, that’s basically free traffic.
But it’s not just about image search.
Those photos you’re uploading straight from your phone? They’re probably slowing down your entire site because of the file size, and Google absolutely cares about page load speed.
When I was just starting my blogging journey, I read an article about how to test your site for loading times. I ran a speed test on my blog and nearly cried. My site was taking seven seconds to load because I had zero clue about image compression.
Seven. Seconds.
Most people bounce after three.
Plus there’s the web accessibility angle. Screen readers help visually impaired people browse the internet by reading alt text out loud. When you skip alt text, you’re basically saying those readers don’t matter.
If you’re still figuring out the basics, my guide on SEO for beginners breaks down the foundation stuff without the jargon overload.
What Exactly Is Alt Text and Why Should You Care?
Alt text is the description you add to images that tells search engines and screen readers what’s actually in the picture.
Think of it this way: Google cannot look at your photo of chocolate chip cookies and know they’re cookies. It needs you to explain that.
The HTML code holds this image metadata, but you don’t need to know any coding. WordPress has a simple box where you type the description.
That’s it.
When I finally started doing this consistently, my blog traffic jumped. I’m talking about images I’d posted six months earlier suddenly showing up in Google searches once I went back and added descriptions.
The SEO best practices for writing alt text are pretty simple. Describe what you see using normal language.
If you’ve got a photo of your dog sleeping on the couch, write “golden retriever sleeping on gray couch.” Not “image of dog” or some keyword-stuffed mess like “best dog breeds golden retriever puppy training sleeping habits.”
Describe the actual picture.
Natural. Helpful. Done.
How Do You Actually Add Alt Text in WordPress?
Let me walk you through this step by step because it’s easier than you think.
When You’re Uploading a New Image:
Click on a space after a paragraph or under a sub-headline in your WordPress editor. You should see a plus sign (+) where you want to add an image. Choose “Image” from the block options.
Upload your image from your computer or select one from your media library. I always select media library and upload from there.
Once the image appears in your post, click on it. You’ll see a toolbar pop up above the image, and on the right side of your screen, you’ll see settings for that image.
Scroll down on the right sidebar until you see a box labeled “Alt text (alternative text).”
Type your description in that box. That’s it.
For Images Already in Your Posts:
Open the post in your WordPress editor.
Click on any image in the post.
Look at the right sidebar for “Alt text (alternative text).”
If it’s empty, add your description. If there’s something generic like “IMG_2847,” replace it with something descriptive.
Click “Update” at the top right to save your changes.
Going Back Through Your Media Library:
In your WordPress dashboard, click “Media” then “Library.”
Click on any image to open its details.
You’ll see the “Alternative Text” field. Add or update the description here.
Click “Update” to save.
This is tedious for older posts but well worth it. I went through 200+ images doing this. This took forever but traffic increased noticeably.
For SEO purposes, you can use keywords that you researched in your alt text if they make sense as part of the description. As you learn more about finding the right keywords, you’ll naturally get better at this.

What Should You Actually Write in Alt Text?
Writing good alt text takes maybe 10 seconds per image.
But those 10 seconds make a real difference for both user experience and your on-page SEO.
Start by describing what’s actually there. Skip the “image of” or “picture showing” part because screen readers already announce it’s an image.
Be specific without getting weird about it.
“Woman gardening” is fine.
“Woman in sun hat planting tomatoes in raised garden bed” is better because it gives search engines more context for search engine optimization.
Work in keywords when it makes sense naturally. If your post is about organic gardening and you’re showing someone gardening organically, mentioning “organic gardening” fits. Cramming in five random keywords? That’s spam.
Keep descriptions under 125 characters when possible. Some screen readers cut off longer ones.
Here’s something that surprised me: decorative images don’t need alt text at all. Those little design flourishes or spacer graphics you might add for visual interest? You can leave that alt text box empty in WordPress.
Not every image needs a novel.
How Do You Rename Image Files Before Uploading?
This happens BEFORE you upload to WordPress, and it matters more than you’d think.
On a Mac:
Find your image file on your computer.
Click once on the file name (not the image itself).
The name will highlight. Type your new descriptive name like “chocolate-chip-cookie-recipe.jpg”
Press Enter.
On a Windows PC:
Find your image file.
Right-click on the file.
Select “Rename” from the menu.
Type your new name like “chocolate-chip-cookie-recipe.jpg”
Press Enter.
Use hyphens between words, not underscores or spaces. Search engines read hyphens as word separators.
Good file names: homemade-bread-baking-tips.jpg, golden-retriever-training.jpg, front-porch-decorating-ideas.jpg
Bad file names: IMG_4729.jpg, photo.jpg, picture1.jpg
This habit takes literally five extra seconds and helps with keyword optimization across your whole site.
I went back through my computer and renamed hundreds of image files before re-uploading them to replace the old ones. Was it tedious? Oh my gosh, yes. Did it help my rankings? Absolutely.
My on-page SEO checklist includes renaming files as a required step before uploading anything.

How Do You Compress Images Before Uploading to WordPress?
Page load speed affects everything. Big images slow everything down. Visitors bounce. Google drops your rankings.
I tested this on my own site. Before compression, my homepage took 6.8 seconds to load. After running every image through compression? 2.1 seconds.
That’s the difference between keeping readers and losing them.
Here’s My Exact Process Using TinyPNG:
Go to TinyPNG.com (it’s completely free for up to 20 images at a time).
Drag your image file from your computer onto the webpage. Or click “Drop your WebP, PNG or JPEG files here!” and select your file.
Wait a few seconds while it compresses. You’ll see a percentage showing how much smaller it made the file.
Click the green “Download” button.
Save the compressed version to your computer.
Upload THAT version to WordPress instead of the original.
The compressed image looks identical to your eye but loads way faster.
For JPEG images, I also use CompressJPEG.com which works the same way. Drag, wait, download.
How Much Compression is Enough?
Aim for 80-85% quality. This reduces file size significantly while looking identical to most people.
TinyPNG handles this automatically. You don’t need to adjust settings. They’ve already figured out the sweet spot.
I compress every single image before uploading now. Every. Single. One. It’s become automatic, like putting on my seatbelt.
The technical SEO benefits are real. Faster sites rank better. Always.
When people search on mobile (which is most people), they want fast-loading content. Compressed images help you deliver that.
What About Image Size and Dimensions in WordPress?
WordPress automatically creates multiple sizes of every image you upload. Small, medium, large, full size.
When you insert an image into a post, WordPress uses the size that fits best. You usually don’t need to worry about this.
But here’s what you should know:
For Featured Images (the main image for your post):
Aim for 1200 pixels wide. This looks good everywhere without being massive.
Your WordPress theme might have specific recommendations. Check your theme documentation.
For Images Inside Posts:
Width of 800-1000 pixels works great for most blog content.
You don’t usually need images wider than your content area.
How to Resize Images Before Uploading:
On Mac, open the image in Preview. Click Tools, then Adjust Size. Change the width to 1200 (height adjusts automatically). Click OK. Save.
On Windows, right-click the image and choose “Edit” to open it in Paint. Click “Resize.” Change the width to 1200 pixels. Save.
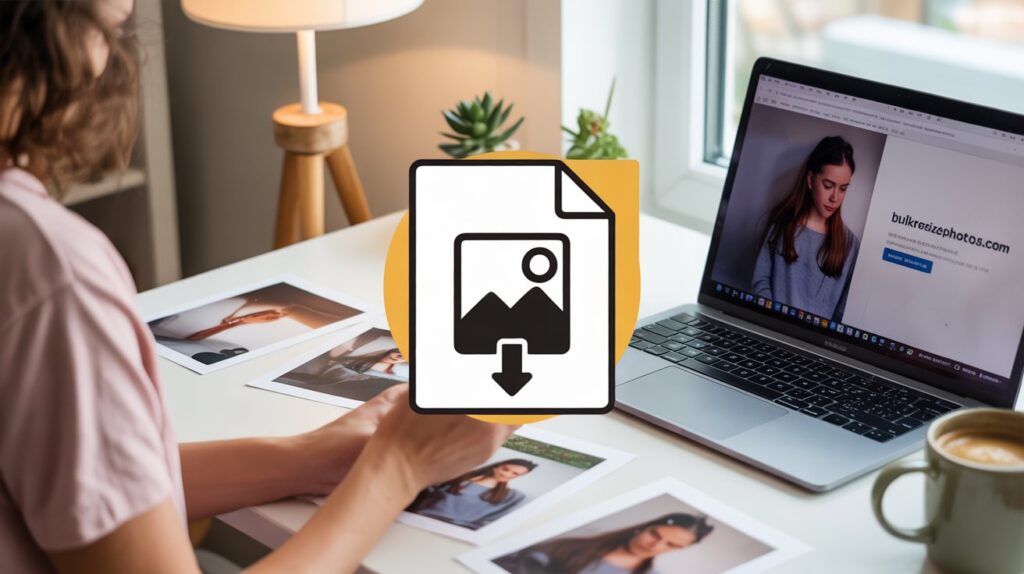
Or use a free online tool like Bulk Resize Photos. Upload, set your width, download.
Smaller dimensions mean smaller file sizes even before compression. It all adds up.
Should You Use WordPress Plugins for Image Optimization?
There are WordPress plugins that automatically compress images when you upload them.
I’ll be honest: I’ve had mixed results with these.
Some popular options are Smush, ShortPixel, and Imagify. They all work similarly by compressing images automatically.
The free versions usually have limits on how many images per month or how much compression.
My take? Compress images yourself before uploading using TinyPNG or CompressJPEG. That way you control the quality and don’t rely on another plugin slowing down your site.
WordPress plugins are great for some things. But for image compression, I prefer handling it myself before upload.
One plugin I do recommend: SEOPress or Rank Math. Both have features that remind you to add alt text if you forget. They’ll show you a warning if an image is missing alt text, which helps catch mistakes.

How Do You Add Images to Improve Your Content?
Visual content performs better everywhere.
Blog posts with images get more shares, more engagement, and more traffic than walls of text. Images break things up and make content easier to scan.
I learned this by accident when I published two similar posts. One had five images. One had none.
The one with images got triple the traffic.
Where to Get Images:
You can take your own photos with your phone. Original images often perform better for SEO because they’re unique.
If you can’t use your phone for images, then you can use free stock photo sites like Unsplash, Pexels, or Pixabay. Download, rename the file, compress it, then upload to WordPress.
You can create simple graphics using Canva (free version works great). For my blogs, I always export as JPEG. You may not even need to compress it then but be sure to check the size. Always aim for file sizes below 200 KBs.
How Many Images Per Post?
I aim for one image every 300-400 words as a rough guide.
At minimum, every post needs a featured image.
Add images where they actually help explain something or break up long sections of text.
Don’t add images just to have images. They should serve a purpose.
Your meta descriptions might help with traffic, but images in search results and on social media catch eyes first.
What’s the Featured Image and How Do You Set It in WordPress?
The featured image is the main image for your post. It shows up in search results, on your blog homepage, and when people share your post on social media.
To Set a Featured Image in WordPress:
Open your post in the WordPress editor.
Look at the right sidebar. Scroll down to find “Featured image.”
Click “Set featured image.”
Upload a new image or choose one from your media library.
Click “Set featured image” in the bottom right.
That image now represents your entire post.
This is the most important image on your post. Make it count.
Give it great alt text. Make sure it’s compressed. Rename the file before uploading.
If you don’t set a featured image, some themes will just show nothing, which looks unprofessional. Always set one.
How Do You Check If Your Image Optimization is Working?
Run a speed test to see how fast your site loads.
Using Google PageSpeed Insights:
Go to PageSpeed Insights (just Google “PageSpeed Insights”).
Enter your blog URL.
Click “Analyze.”
Wait for results. It’ll show your speed score and suggestions for improvement.
Look for anything about images. If it says images are slowing you down, you need better compression or smaller file sizes.
Aim for a score in the green (90+) on mobile. Yellow (50-89) is okay but could be better.
Checking Image Search Traffic:
In your WordPress dashboard, if you have Google Analytics installed, check your traffic sources.
Look for traffic coming from Google Images. This tells you if your image SEO is working.
It takes time. You won’t see results overnight. But over months, you should see some traffic from image search if you’re doing this right.
Making Image SEO and Alt Text Optimization Part of Your Routine
Image SEO and alt text optimization won’t transform your blog overnight.
Nobody’s promising miracles here.
But over time? These small efforts create real results.
Search engines understand your content better. Visually impaired readers can actually use your site. Your pages load faster. Your images show up in search results.
All from spending an extra two minutes per post paying attention to your visual content.
My Current Image Upload Routine:
Rename the file on my computer with descriptive keywords.
Compress the image using TinyPNG.
Upload to WordPress.
Add detailed alt text in the WordPress sidebar.
Set as featured image if it’s the main one.
Update the post.
That’s it. Six steps. Takes maybe two minutes total per image.
Once this becomes habit, you don’t even think about it.
Start with your newest posts. Make this your standard process going forward.
Then, when you’ve got some time, go back and fix your older content. Update alt text. Replace huge images with compressed versions.
Your blog deserves images that work as hard as your writing does.
Stop uploading and hoping for the best and get into the habit of taking the two minutes to do this right.
Future you will thank current you when those organic search visits start rolling in.
Frequently Asked Questions
What should I write in alt text?
Describe what’s actually in the image using normal language. Keep it under 125 characters and include keywords only when they fit naturally. Write it like you’re describing the image to someone over the phone.
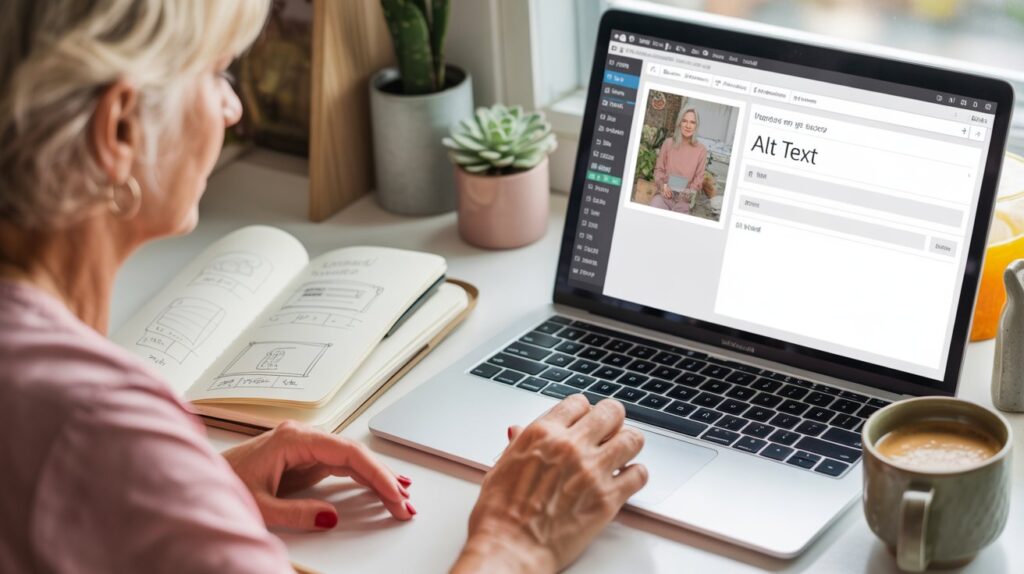
Where do I add alt text in WordPress?
Click on your image in the WordPress editor, then look at the right sidebar for “Alt text (alternative text).” Type your description in that box and click Update to save.
Do image file names really matter for SEO?
Yes. Rename your files before uploading to WordPress. Use descriptive names with hyphens like “chocolate-chip-cookies.jpg” instead of “IMG_2847.jpg.”
How do I compress images for WordPress?
Use TinyPNG.com (free). Drag your image onto the site, wait for compression, download the smaller version, then upload that to WordPress instead of the original.
Should every image have alt text?
Meaningful images that add information need alt text. Purely decorative images can have empty alt text. Focus on images that help explain your content.
What’s the best image size for WordPress blog posts?
Aim for 1200 pixels wide for featured images and 800-1000 pixels wide for images inside posts. Always compress after resizing.