Basic Photo Editing for Bloggers: Making Your Images Pop Without the Overwhelm
Your photos matter way more than you think. Basic photo editing for bloggers doesn’t mean downloading 47 apps or learning Photoshop. It means knowing which button to tap on your phone to make photos look intentional instead of accidental.
You can write the best content in the world, but if your images look like they were taken with a potato in 2007, people scroll right past.
I use exactly ONE photo editing app on my iPhone: Camera Plus. That’s it. I bought it years ago for like three bucks.
When I first started blogging, I thought I needed all the fancy tools everyone talks about online. I downloaded Lightroom mobile, tried VSCO, installed Snapseed because some YouTube photographer swore it was “essential.”
You know what happened? I got overwhelmed and stopped editing photos altogether.
So I simplified. One app. One simple workflow. Done.
If you’re still getting your blog set up, bookmark this for later. But once you’re publishing? These quick photo fixes will transform your content.
What Photo Editing Software Do Beginners Actually Need?
Start with what you already have.
Your iPhone came with a photo editor sitting right there in your Photos app. Tap “Edit” on any photo and boom, there’s the brightness, contrast, crop, and straighten. That covers probably 90% of what beginners need.
Camera Plus (iPhone) – This became my go-to once I wanted slightly more control. The interface is clean and it does everything I need without making me feel stupid. Cost me about $3 years ago. I swear, it’s the best three bucks I’ve spent on blogging.
Canva (browser) – For when I need to remove backgrounds or add text. The free version doesn’t remove backgrounds but there are free tools online or you can use ChatGPT now. If you’re also creating graphics and featured images, Canva handles both.
Notice what’s NOT on this list? Photoshop at $55/month. Lightroom at $10/month. Or any subscription software that costs more than your coffee habit.
It’s the same philosophy as choosing your blogging platform. Pick tools you’ll actually use.
How Do You Actually Make Photos Look Better?
This is where I wasted so much time overthinking in the beginning.
Open photo. Tap “Adjust.” Fix three things. Done.
Brightness – Your photo’s probably too dark. Slide brightness up until you can see details. If it looks washed out, you went too far. Dial it back.
Contrast – This makes images “pop.” It makes dark areas darker and light areas lighter. Slide up until your photo stops looking flat.
Saturation – How vibrant colors are. Here’s where people mess up. A little makes colors look alive. Too much makes your photo look like a cartoon.
This takes maybe 30 seconds once you’ve done it a few times. That’s honestly 90% of what image enhancement is.
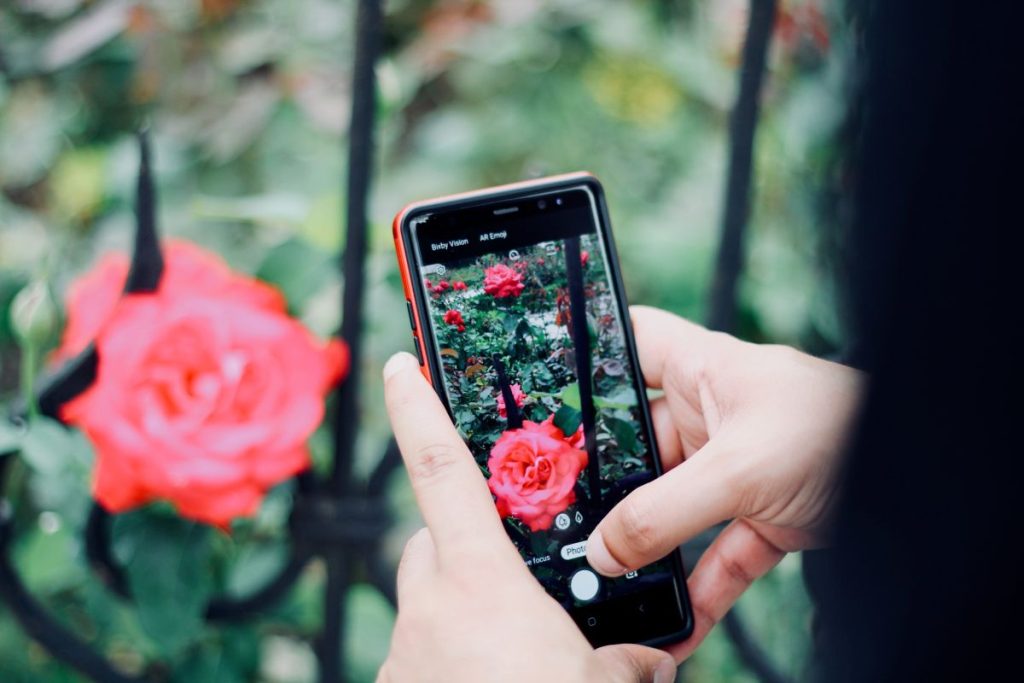
Can You Take Good Blog Photos With Just Your Phone?
Absolutely. And I’m going to save you from the mistake I made.
I bought a fancy camera thinking it would magically make my blog photos better. I think I spent $800. I ended up using it maybe ten times. Now it sits in a drawer while I shoot everything with my iPhone.
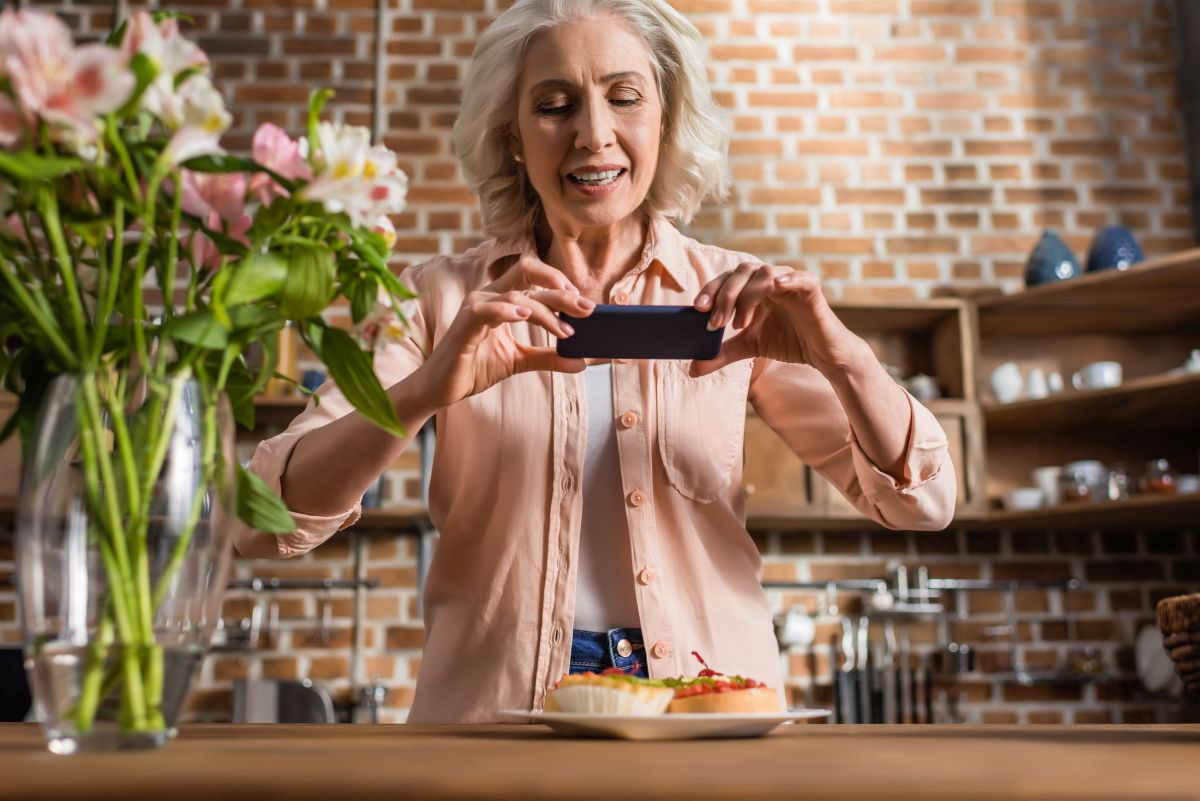
Your phone camera is legitimately better than cameras that cost thousands just five years ago. The limitation isn’t your equipment. It’s lighting and composition.
Find natural light. I shoot near windows whenever possible. The difference between window light and overhead fluorescent is massive.
Get closer than what feels natural. Way closer. Fill the frame. I spent my first year taking photos from six feet away wondering why they looked boring.
Clear the clutter before you shoot. I published a product photo once with dirty dishes clearly visible in the background (I used to sell a lot on Ebay and Amazon FBA).
Turn on the grid in your camera settings. Put your subject where the lines cross. This is called “rule of thirds” and it’s the difference between intentional photos versus random ones.
When you’re hunting for blog post ideas, think about which topics lend themselves to good photos.
What About Removing Backgrounds and Cleaning Up Photos?
You’re not airbrushing fashion models. You’re removing distractions.
iPhone’s built-in “Retouch” – Tap what you want gone, make a circular motion with your finger, it disappears. Magic for small fixes like dust spots or tiny blemishes.
Canva’s Magic Eraser – For bigger stuff. Select what you want gone, AI figures out what should be there instead. I use this constantly for removing random people or objects from backgrounds.
Remove.bg – Specifically for removing entire backgrounds. Upload, wait five seconds, download a perfect cutout. Free for blog-sized images.
This is about building confidence as a content creator. When you know you can quickly fix photo problems, you stop being paralyzed by trying to get the perfect shot every time.
Should You Pay for Photo Editing Software?
No. Not when you’re starting. Probably not ever for blogging.
Don’t pay for software until free tools are actually, genuinely holding you back from doing something specific you need to do right now.
For most bloggers? That day never comes.
I see new bloggers dropping $50/month on Adobe Creative Cloud before they’ve published ten posts. Why? Because some photography YouTuber said it’s “essential.”
You’re not a professional photographer. You’re a blogger who needs decent photos. Different job, different tools.
Use that money for web hosting instead.
What About Cropping and Color Correction?
Cropping fixes composition mistakes after the fact.
Too much empty space? Crop tighter.
Subject off to one side? Crop to reframe it.
Random junk on the edges? Crop it out.
Different platforms want different shapes. Instagram prefers square. Pinterest wants vertical. I crop the same photo multiple ways for different uses.
Color correction sounds technical but it’s really just to “make the colors look normal.”
Your photos are probably too yellow (indoor lights) or too washed out (overcast day). Both look unprofessional.
Find the “Temperature” slider. Move it toward blue if your photo’s too yellow, toward yellow if it’s too blue. Stop when it looks like what you actually saw.
Also bump saturation up slightly. Not a lot. Just enough so colors don’t look dead.
Check edits on both computer and phone before publishing. What looks perfect on a monitor sometimes looks way too dark on a phone screen. Check from multiple angles.
Do You Actually Need to Use Filters?
Use them sparingly.
Filters help if you are trying to create a consistent look across all your blog images. Pick one subtle filter and use it on every photo. Your blog instantly looks cohesive.
Filters hurt when they’re obvious. Don’t use Valencia or X-Pro II or recognizable Instagram filters on professional blog content.
A better approach is to find subtle filters that enhance what’s already there. Or figure out your own “process.” Use the same manual adjustments every time and skip filters entirely.
Your visual style becomes part of your unique voice as a blogger.
Why Do You Need to Resize Photos Before Uploading?
Because big photos kill blog performance. And slow blogs lose readers.
Your iPhone takes photos that are 4000 x 3000 pixels and 5 MB each. Your blog needs photos that are 1200 pixels wide and under 200 KB.
I noticed on some blogs that I visited that full-size phone photos took took forever to load. I kind of knew to be careful with file sizes so I always resize them. Same with stock photos.
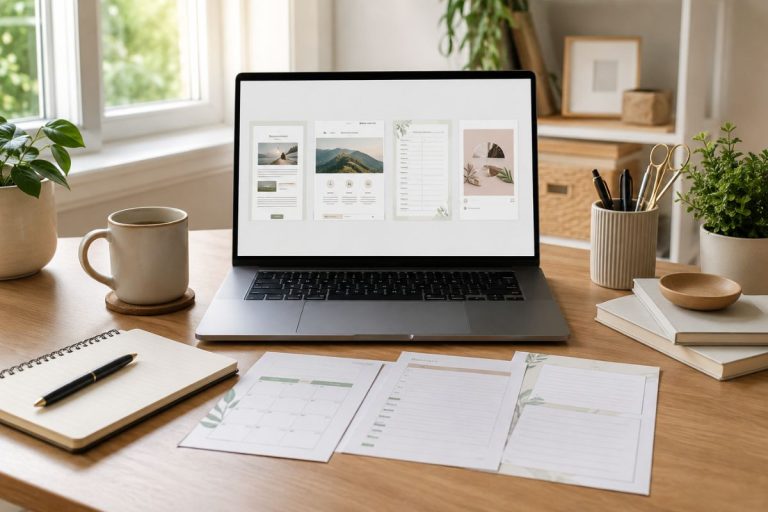
Resize in Canva: Upload → Click “Resize” → Type 1200 for width → Download. Takes 15 seconds. I have a “blog template” and I make a copy of the template and then add my uploaded image to it to quickly resize all images.
Compress with TinyPNG: Drag your resized photo in → Wait 3 seconds → Download. Usually shrinks file size by 40-60%.
Why this matters: Google ranks faster blogs higher. People on mobile can actually load your content.
Add alt text. Describe what’s in the photo. “Woman using laptop at kitchen table” not “IMG_2847.” This helps Google understand and rank your images.
How Do Photos Tell a Story?
Photos that work together tell a story. Random disconnected images just confuse people.
Before/after sequences work incredibly well. Show the problem, show the solution. Readers love transformations. They’re visual proof your advice actually works.
Step-by-step photos for tutorial content. Don’t just write “Step 1: Do this.” Show them Step 1 in a photo. This is way more effective because people are visual learners.
Consistent editing makes everything cohesive. When every photo has wildly different colors and brightness, it looks chaotic. When they all have the same look, they look polished.
Think about the emotion you want each photo to create. Curiosity? Trust? Excitement? Disappointment? Technical perfection doesn’t matter if the photo is boring.
This connects to turning your life experience into blog content. Emotional connection through words gets amplified when photos tell the same story.

What’s Your Actual Workflow?
Here’s my exact process when I take my own photos. Two minutes total.
Shoot with iPhone (natural light, get close, clear clutter) → Quick edit in Camera Plus (brightness, contrast, colors, crop – 30 seconds) → Resize in Canva to 1200px wide → Compress with TinyPNG → Upload to blog with alt text.
Same process every time. No decisions, no stress.
This is how I approach balancing blogging with everything else. I create systems so I don’t rely on motivation. Systems work when you’re tired. Motivation fails right when you need it most.
Frequently Asked Questions
Do I need to edit every blog photo? Most photos benefit from basic adjustments. At minimum, resize and optimize.
How long should editing take? 30-60 seconds. Longer means overthinking.
Can phone photos work for professional blogs? Absolutely. Lighting and composition matter more than equipment.
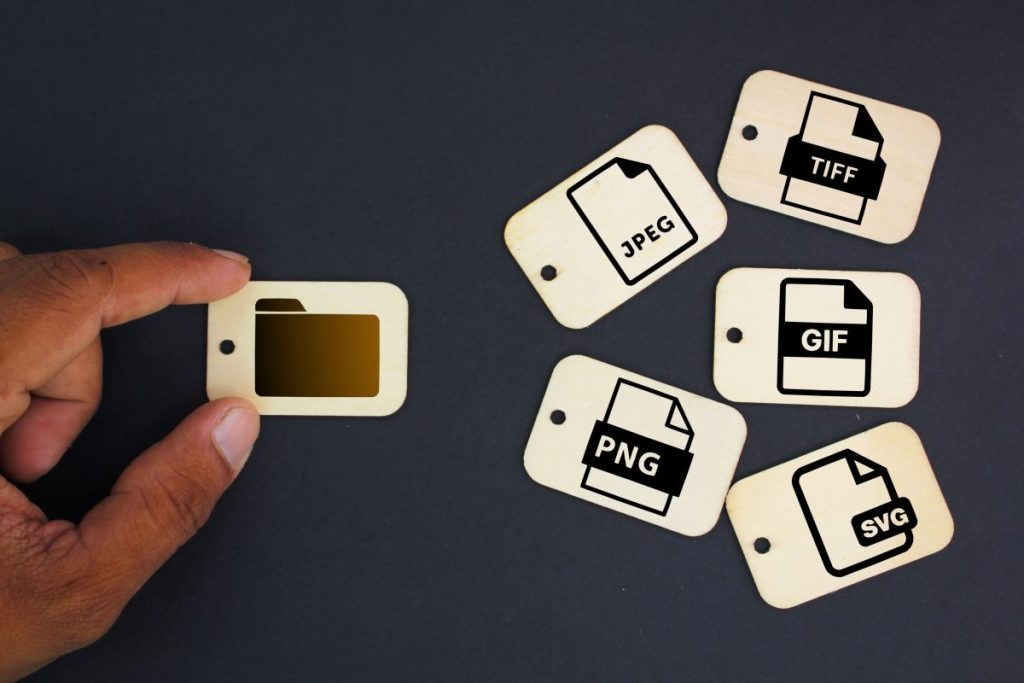
What file format? JPEG for photos. PNG for transparent backgrounds.
Should photos match a brand aesthetic? Yes. Same adjustments on every photo creates cohesion.
How to avoid over-editing? Edit in small increments. If it looks unnatural, dial back.
Are expensive programs worth it? Not when starting. Phone + Canva covers 95% of needs.
Do I use the same techniques for social media? Yes. Just adjust sizing per platform.